Love Letter Clay Cutter STL Files: Digital Design Guide
Creating intricate polymer clay jewelry or detailed cookie designs often hinges on the quality of your tools. For makers who own a 3D printer, the Love Letter Clay Cutter - STL Digital Files represent a significant upgrade in production capability and creative freedom. Rather than relying on generic, mass-produced metal cutters that limit your design options, this digital bundle allows you to manufacture professional-grade tools tailored specifically to your current project needs. The immediate access to these files means you can move from concept to creation without waiting for shipping, making it an essential resource for small business owners and hobbyists operating on tight deadlines.
Versatility Through Precision Sizing
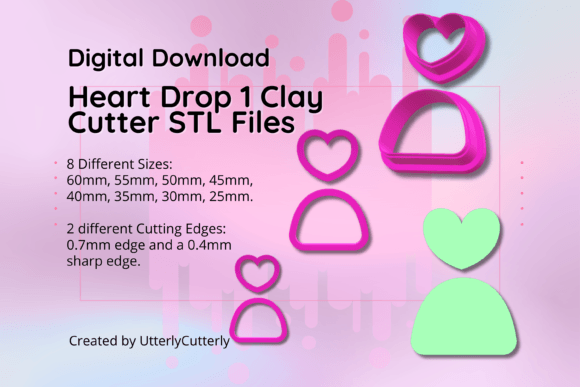
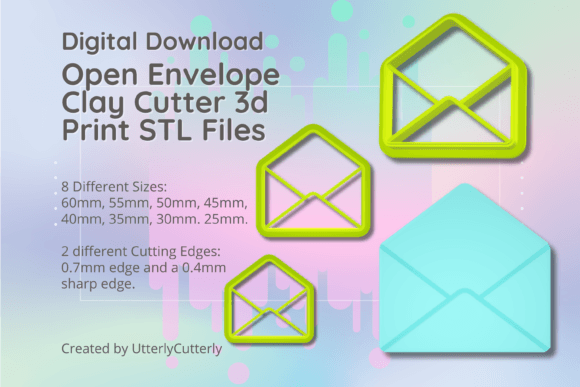
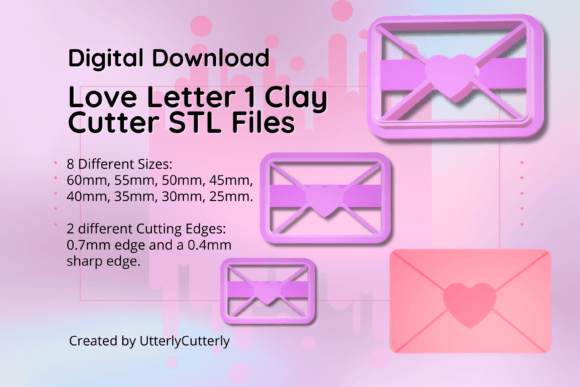
One of the primary challenges in clay work is achieving consistent scaling across different product lines. Whether you are designing a tiered earring collection or a set of graduated Valentine’s Day cookies, having exact size increments is non-negotiable. This specific STL pack addresses that need by providing eight distinct sizes measured from the longest ends: 60mm, 55mm, 50mm, 45mm, 40mm, 35mm, 30mm, and 25mm.
This granular sizing strategy offers practical benefits for various applications:
- Jewelry Makers: Use the 25mm and 30mm sizes for delicate stud earrings or charms, while reserving the 55mm and 60mm versions for statement pendants or brooches.
- Bakers and Decorators: The mid-range sizes (40mm–50mm) are ideal for standard cookies, while the larger formats work perfectly for cake toppers or fondant accents.
- Educators and Workshop Leaders: Having a full spectrum of sizes allows students to experiment with scale and proportion without needing multiple separate purchases.
Because these are digital files, you also gain the ability to curate custom combos. If you have other STL files in our store, you can mix and match these love letter silhouettes with complementary shapes to create cohesive seasonal collections. New STL files are added to the store weekly, ensuring your tool library evolves alongside current trends.
Understanding Cutter Edge Profiles
Not all clay projects require the same cutting mechanics. A cutter designed for firm polymer clay may fail when used with soft sugar paste, and vice versa. This bundle includes two distinct cutting edge profiles within the digital download, allowing you to select the appropriate tool geometry for your specific material.
The Standard 0.7mm Wall Profile
This version features a 0.7mm wall thickness with a 3mm thick base and a total height of 12mm. It is engineered for durability and ease of printing. The slightly thicker wall provides structural rigidity, making it less prone to warping during the printing process or bending during use. This profile is generally recommended for:
- Firm polymer clays like Sculpey III or Fimo Professional
- Cold porcelain and air-dry clays
- Beginners who are still refining their 3D printer calibration
The Sharp Edge (SE) Profile
Abbreviated as "SE" in the file names, this variant prioritizes cutting precision over wall thickness. It features a 1mm support wall that tapers down to a razor-thin 0.4mm cutting edge. Like the standard version, it maintains a 3mm thick base and 12mm height for ergonomic handling. The sharp edge is specifically beneficial for:
- Soft polymer clays like Premo or Souffle where dragging causes distortion
- Fondant, gum paste, and marzipan
- Detailed projects requiring clean, crisp outlines with minimal post-processing
Having both profiles in one bundle eliminates the guesswork. You can print a test piece in each style to determine which performs best with your preferred clay brand and conditioning level.
Embossing Specifications and Clay Thickness
Beyond simple outline cutting, these Love Letter Clay Cutter STL files include integrated embossing lines to add dimensional detail to your work. The embossing features stand 10.5mm tall relative to the base. This specific measurement is critical for successful results.
To achieve a clear impression without the cutter bottoming out or failing to mark the surface, you must condition your clay to be thicker than 1.5mm. If your clay slab is too thin, the embossing lines will either cut through the material entirely or fail to register a defined pattern. For professional results, we recommend rolling your clay to a consistent 2mm to 3mm thickness before using the embossing function. This ensures the internal details of the love letter design transfer cleanly while leaving enough structural integrity for baking or drying.
Optimizing Your 3D Print Settings
While our cutters are tested before being sold as part of our standard quality checking system, the final output depends heavily on your printer settings. To get the most out of this digital download, consider the following technical recommendations:
- Layer Height: Use 0.12mm or lower for the SE files to preserve the fine 0.4mm edge definition. Standard 0.2mm layers may result in a jagged cutting edge that tears soft clay.
- Infill: 100% infill is recommended for the cutting walls to prevent delamination. Lower infill percentages can cause the thin walls to split under pressure.
- Material Choice: PLA is sufficient for most clay applications. However, if you plan to use these cutters with warm materials or require food-safe certification for commercial baking, consider PETG or specialized food-safe filaments.
- Orientation: Always print cutters with the cutting edge facing up to avoid support structures touching the functional surface. Supports should only be used if the love letter design contains extreme overhangs that exceed your printer's bridging capabilities.
Commercial and Creative Applications
The value of owning the STL files extends beyond personal crafting. For entrepreneurs running Etsy shops or local bakery businesses, this digital asset reduces overhead costs significantly. Instead of purchasing individual cutters at retail prices, you can produce unlimited replacements or variations for the cost of filament. This is particularly useful during peak seasons like Valentine’s Day when demand spikes and supply chains for physical tools often lag.
For content creators and educators, the ability to show the entire process—from digital file to printed tool to finished product—adds depth to tutorials and workshops. Demonstrating how to adjust slicer settings for different edge profiles provides tangible value to your audience and establishes authority in the maker space. Additionally, because the files are digital, you can archive them indefinitely and reprint years later without worrying about discontinued products or lost inventory.
Important Usage Considerations
Please remember that this is not a physical item. You will have access to download the files immediately after payment. Before starting large production runs, always print a single test cutter to verify dimensional accuracy and edge quality on your specific machine. Printer calibration varies, and what works perfectly on one setup may require slight adjustments on another.
Furthermore, while the SE profile offers superior cutting performance, the 0.4mm edge is inherently more delicate than the 0.7mm version. Avoid twisting the cutter excessively when removing it from sticky clay, as this lateral force can damage the fine edge over time. Instead, use a gentle rocking motion or chill the clay briefly before cutting to ensure clean release. By treating these printed tools with care and understanding their technical specifications, you can integrate the Love Letter Clay Cutter STL files into a sustainable, efficient, and highly creative workflow.